Creating Custom Windows Explorer Context Menu Shell Extension for Virtual Drive
This article describes how to create a Windows Explorer context menu integrated in your main application. Your context menu handler will run as a COM inside main app, which also hosts your Engine instance.
The functionality described in this article is available in IT Hit User File System v5 Beta and later versions.
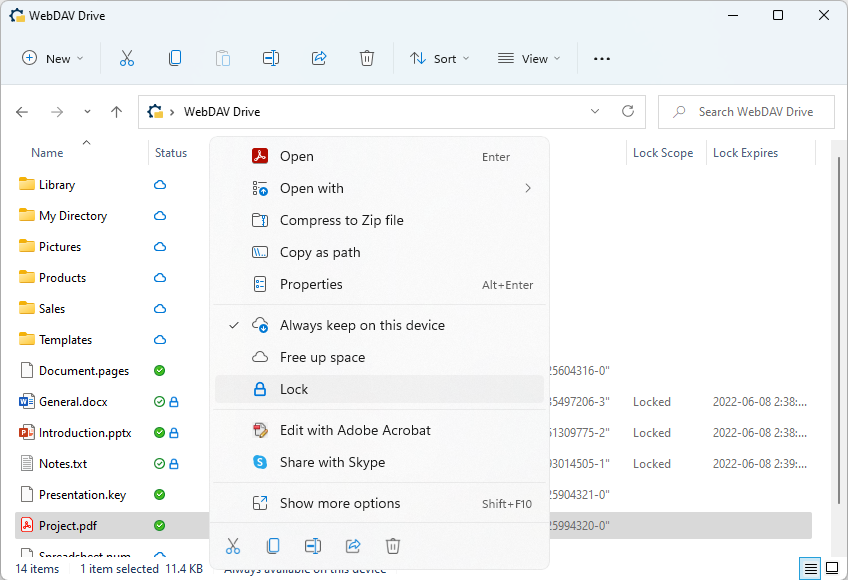
Important! On Windows 11 context menu shell extension requires package or application identity. Otherwise your commands will appear under the "Show more options" menu in Windows Explorer.
Follow the steps below to add custom context menu command shell extension in Windows Explorer. Note that first two steps are identical for Integrated an RPC versions of the menu.
1. Implement Context Menu Interface
Implement the IMenuCommandWindows interface and return menu title, tooltip, icon and state as well as implement the IMenuCommandWindows.InvokeAsync() method which is called when the menu is executed. All methods receive a list of selected items as an input parameter:
public class MyMenuCommand : IMenuCommandWindows
{
    private readonly EngineWindows engine;
    private readonly ILogger logger;

    public MyMenuCommand(EngineWindows engine, ILogger logger)
    {
        this.engine = engine;
        this.logger = logger.CreateLogger("My Menu Command");
    }

    public async Task<string> GetTitleAsync(IEnumerable<string> filesPath)
    {
        return "My Menu Command";
    }

    public async Task<string> GetIconAsync(IEnumerable<string> filesPath)
    {
        string appPath = typeof(MyMenuCommand).Assembly.Location;
        return Path.Combine(Path.GetDirectoryName(appPath), "Icon.ico");
    }

    public async Task<MenuState> GetStateAsync(IEnumerable<string> filesPath)
    {
        return MenuState.Enabled;
    }

    public async Task InvokeAsync(IEnumerable<string> filesPath)
    {
        foreach (string userFileSystemPath in filesPath)
        {
            string remoteStorageIdStr = null;

            // Often you need a remote storage ID in your menu handler.
            if (engine.Placeholders.TryGetItem(
                userFileSystemPath,
                out PlaceholderItem placeholder))
            {
                byte[] remoteStorageId = placeholder.GetRemoteStorageItemId();
                remoteStorageIdStr = BitConverter.ToString(remoteStorageId);
            }

            logger.LogMessage(remoteStorageIdStr, userFileSystemPath);
        }
    }

    public async Task<string> GetToolTipAsync(IEnumerable<string> filesPath)
    {
        return "My command tooltip";
    }
}
2. Return Context Menu Implementation from the Engine
Implement the IEngine.GetMenuCommandAsync() method and return your menu implementation. The Engine will call this method passing the menu GUID parameter, so you can implement multiple menu commands on the first level of the menu:
public class VirtualEngine : EngineWindows
{
    ...
    public override async Task<IMenuCommand> GetMenuCommandAsync(
        Guid menuGuid,
        IOperationContext operationContext = null)
    {
        if (menuGuid == typeof(ContextMenuVerbIntegrated).GUID)
        {
            return new MyMenuCommand(this, this.Logger);
        }

        throw new NotImplementedException();
    }
}
3. Create Context Menu Handler Class
Derive your context menu provider class from the CloudFilesContextMenuVerbIntegratedBase class provided with the Engine and pass your Engine instance directly to the base class constructor:
[ComVisible(true)]
[ProgId("WebDAVDrive.ContextMenusProvider")]
[Guid("A22EBD03-343E-433C-98DF-372C6B3A1538")]
public class ContextMenuVerbIntegrated : CloudFilesContextMenuVerbIntegratedBase
{
    ContextMenuVerbIntegrated() : base(Program.Engine)
    {
    }
}
The handler will call the Engine instance that you pass to the constructor and than call the IEngine.GetMenuCommandAsync() method to get the IMenuCommandWindows interface when the menu is displayed and invoked.
You do not need to implement any methods in your menu provider class.
You must decorate the class with the ComVisible, ProgId and unique Guid attributes. You will use them when registering your COM menu handler shell extension.
Do NOT use the GUID from this sample. You must create your own unique GUID for each of your menu handlers, which is different from any other GUIDs used in your application.
4. Register Context Menu Handler
Add the desktop3:CloudFilesContextMenus and the com:ExeServer code tags to your packaged app manifest or sparse package manifest:
<Package
    xmlns:desktop3="http://schemas.microsoft.com/appx/manifest/desktop/windows10/3"
    xmlns:com="http://schemas.microsoft.com/appx/manifest/com/windows10" ...>
  <Applications>
    <Application ...>
      <Extensions>
        <desktop3:Extension Category="windows.cloudFiles">
          <desktop3:CloudFiles>
            <desktop3:CloudFilesContextMenus>
              <desktop3:Verb Id="MyCommand"
                Clsid="A22EBD03-343E-433C-98DF-372C6B3A1538" />
            </desktop3:CloudFilesContextMenus>
          </desktop3:CloudFiles>
        </desktop3:Extension>
        <com:Extension Category="windows.comServer">
          <com:ComServer>
            <com:ExeServer
              DisplayName="VirtualDrive.ShellExtension"
              Executable="dummy.exe">
              <com:Class
                Id="A22EBD03-343E-433C-98DF-372C6B3A1538" />
            </com:ExeServer>
          </com:ComServer>
        </com:Extension>
      </Extensions>
    </Application>
  </Applications>
</Package>
Note the "dummy.exe" in the executable path in com:Extension tag. By specifying a non-existent path to your handler location, the platform will properly load your handler from your main application.
Note that in case of a packaged app or sparse package your COM will be automatically registered on app install and deleted on uninstall. You do NOT need to install/uninstall it manually using regsvr32.exe or Win 32 API.
5. Run Your COM Server
In this paragraph we describe how to allow platform to find your COM object inside your application.
When starting your application create a LocalServerIntegrarted class instance and dispose it when the application is closed. Register your COM class using the LocalServer.RegisterClass() method call when starting the application:
using (LocalServer com = new LocalServerIntegrarted())
{
    com.RegisterClass<ContextMenuVerbIntegrated>();
    ...
    using (VirtualEngine engine = new VirtualEngine();
    {
        ...
    }
}
Note that menu and thumbnails handlers are registered using RegisterClass() method, while custom states and columns handler is registered using RegisterWinRTClass() method.